How to Replace Your HP Chromebook Screen Efficiently
Have you encountered a cracked, flickering, or unresponsive screen on your HP Chromebook? You're not alone. Many Chromebook users face this issue at some point. Fortunately, replacing your Chromebook screen doesn't have to be a daunting task. This guide will walk you through the process of replacing your HP Chromebook screen replacement efficiently. Whether you're experiencing problems with display quality or simply looking to upgrade, this guide is for you. Read on to discover how you can handle this replacement like a pro.
Table of contents:
Common Issues with HP Chromebook Screens and When to Replace Them
A Step-by-Step Guide to HP Chromebook Screen Replacement
The Benefits of Using Genuine HP Chromebook Screen Replacements
Why HP Chromebook Screen Replacement Is a Cost-Effective Solution
Common Issues with HP Chromebook Screens and When to Replace Them
Over time, Chromebook screens may develop several issues that necessitate a replacement. Cracks from physical damage, dead pixels, or flickering can make using your device a challenge. Additionally, touchscreens may become unresponsive, hampering productivity. It's crucial to replace the screen when these issues persist despite troubleshooting. By doing so, you enhance your device's usability and extend its lifespan. Early detection of these common problems allows you to act swiftly, ensuring minimal disruption to your daily tasks.
A Step-by-Step Guide to HP Chromebook Screen Replacement
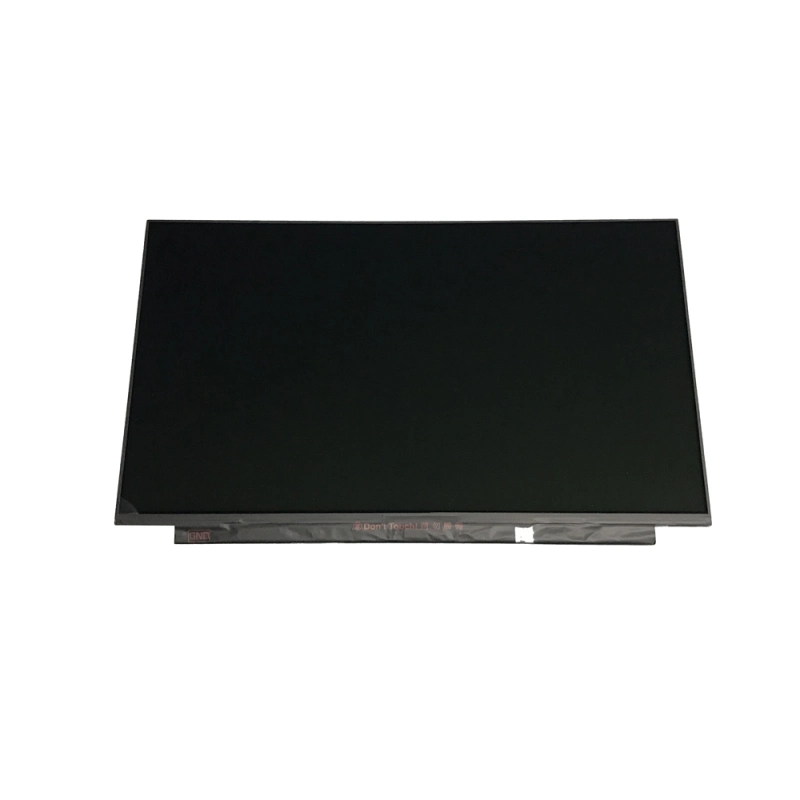
Replacing your HP Chromebook screen involves several steps. First, gather the necessary tools—such as a small screwdriver set, a plastic pry tool, and your new screen. Begin by turning off your Chromebook and unplugging it from any power source. Remove the bezel surrounding the screen using the plastic pry tool, being careful not to damage it. Unscrew the screws holding the screen in place, then gently disconnect the cables attached to the old screen. Connect the new screen, secure it with the screws, and snap the bezel back into place. Power on your device to ensure the new screen functions correctly, and you're done!
The Benefits of Using Genuine HP Chromebook Screen Replacements
Opting for genuine HP Chromebook screen replacement offers several advantages. Authentic screens ensure compatibility and maintain the device's original quality, delivering optimal display performance. Additionally, they come with warranties, providing peace of mind and protection against defects. Using genuine parts also supports device longevity, as they are designed to meet HP's stringent standards. This choice minimizes the risk of encountering issues that often arise with third-party components, such as poor fit or inferior display quality.
Why HP Chromebook Screen Replacement Is a Cost-Effective Solution
Replacing the screen of your HP Chromebook is a cost-effective alternative to purchasing a new device. While a new Chromebook might set you back several hundred dollars, a screen replacement typically costs significantly less. This approach allows you to preserve your investment and avoid the hassle of transferring data and settings to a new device. Additionally, performing the replacement yourself can save on labor costs associated with professional repairs. By opting for a new screen, you restore your device's functionality without breaking the bank.
Replacing your HP Chromebook screen can seem intimidating, but with the right guidance and tools, it's a manageable task. Addressing common screen issues promptly can extend the life of your device and improve your user experience. By following the steps outlined in this guide, you can tackle the replacement process confidently and efficiently. Remember to use genuine HP screen replacements to ensure quality and compatibility. If you're ready to restore your Chromebook to its former glory, start your screen replacement project today! Feel free to explore further resources or consult professionals for additional support if needed.


Comments
Post a Comment